
 Save
Save
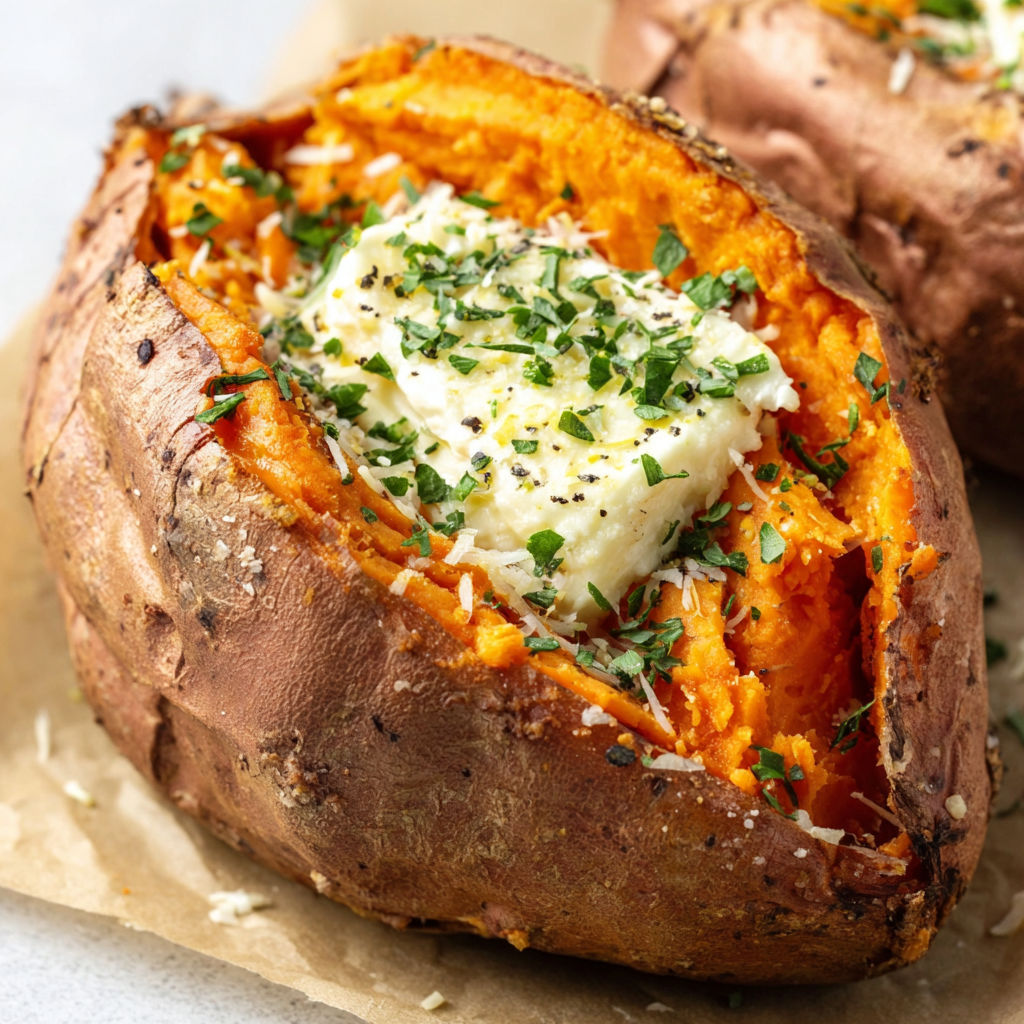
Perfectly baked sweet potatoes are a simple and satisfying side dish with a crisp skin and pillowy interior. This method creates results that are restaurant-worthy yet endlessly comforting at home. When topped with just the right amount of butter and a sprinkle of salt and pepper, sweet potatoes can elevate even the humblest meal.
I started baking sweet potatoes this way when my kids became obsessed with sweet potato fries. Now this roasted version pops up on our dinner table at least once a week during fall and winter.
Ingredients
- Large red-skinned sweet potatoes: This type is ideal for baking as the skin holds up well and the flesh becomes fluffy. Tip: Choose potatoes that are heavy and firm without any bruises or sprouts
- Unsalted butter: Adds richness and enhances the sweetness of the potato. Look for good-quality butter for the best flavor
- Extra-virgin olive oil: Helps the skin crisp up and provides a fragrant base. You can swap in coconut oil or bacon grease for a twist
- Kosher salt: Deepens flavor and draws out the natural sugars of the sweet potato. Opt for flaky or coarse grain if possible
- Freshly cracked black pepper: Balances the sweetness with a bit of heat. Always crack it fresh for the most aroma
Instructions
- Preheat the Oven:
- Set your oven to 425 degrees Fahrenheit. Make sure it has fully preheated before your potatoes go in to ensure even cooking and a beautiful crust
- Prepare the Potatoes:
- Wash each sweet potato thoroughly using a vegetable brush if you have one, then dry completely. Damp potatoes lead to steaming instead of crisping
- Oil and Salt the Skin:
- Rub each potato with a thin layer of olive oil and sprinkle salt all over. Gently massage the seasoning in to ensure every nook is coated
- Prick the Potatoes:
- Use a fork to poke small holes all over the potatoes. This step is crucial as it lets steam escape and keeps the potatoes from bursting
- Bake to Fluffy Perfection:
- Place your prepared potatoes on a foil-lined baking sheet. Bake for forty to sixty minutes depending on their size. Start checking at the forty-five minute mark by piercing the center with a fork which should glide right in
- Rest and Split:
- Let the potatoes cool for five minutes to finish setting. Split each down the center with a sharp knife and carefully squeeze the ends to open up the fluffy inside
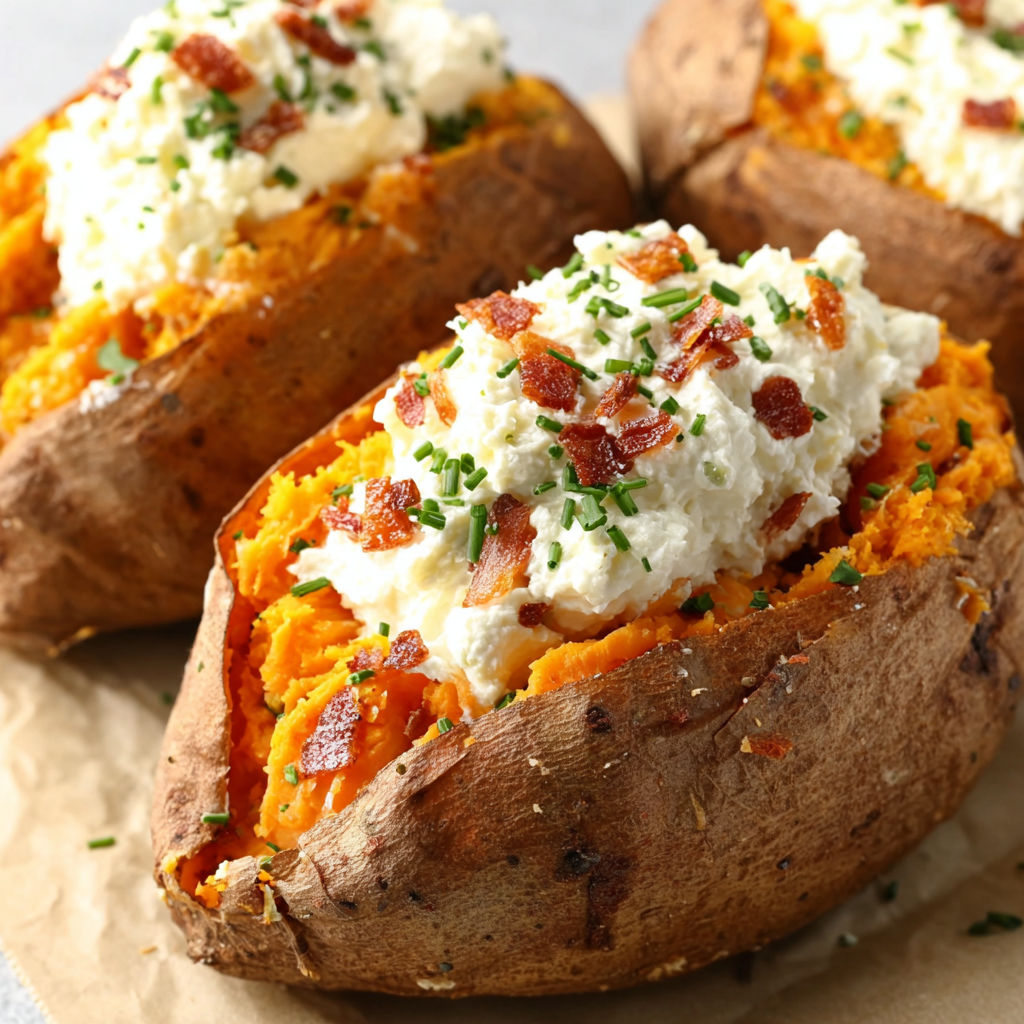
- Top and Serve:
- Add a generous pat of unsalted butter right into the center, then finish with salt and freshly cracked pepper. Serve immediately for the best texture

I always use those deep orange sweet potatoes for their extra flavor and nutrient content. My fondest memory is my daughter calling them golden clouds after her first bite.
Storage Tips
Once cool, sweet potatoes keep well in the fridge for up to five days. Store them whole in an airtight container or wrapped tightly in foil to lock in moisture. To reheat, just bake at four hundred degrees until warmed through or pop in the microwave for two minutes.
Ingredient Substitutions
You can use white or purple sweet potatoes for a different taste, but the baking process remains the same. Try coconut oil or even bacon grease instead of olive oil for a unique flavor variation. Vegan butter or a bit of tahini is delicious for dairy-free options.
Serving Suggestions
Baked sweet potatoes are brilliant with a simple dinner — roast chicken or grilled fish particularly shine alongside them. For a filling meal, load them up with black beans, a sprinkle of cheese, and salsa. Consider drizzling with maple syrup and a handful of toasted pecans for a sweeter version.
Cultural and Historical Context
Sweet potatoes have been a staple ingredient in many cultures from the southern United States to the Caribbean and Asia. They have a deep culinary history and are celebrated for versatility and nutritional value. Baked sweet potatoes often accompany holiday feasts and are beloved for their natural sweetness.
Seasonal Adaptations
During colder months, swap in warming spices like cinnamon or a dusting of smoked paprika. In spring, top with fresh herbs or a dollop of Greek yogurt for brightness. For summer meals, stuff them with grilled vegetables or corn salad.
Success Stories
A friend once made these for her Thanksgiving dinner and said every guest requested the recipe. School lunches at our house have never been easier since the kids love taking leftover halves topped with their favorite ingredients. Even picky eaters seem to enjoy the naturally sweet and vibrant flavor.
Freezer Meal Conversion
Cool the baked sweet potatoes fully, then wrap each one in plastic wrap followed by foil. Store in the freezer for up to three months. Thaw overnight in the fridge before reheating in the oven or microwave until fully warmed.
Enjoy your perfectly baked sweet potatoes as a hearty side or the base for your favorite toppings. They are simple, wholesome, and always a hit at the table.
Common Recipe Questions
- → How do you get crisp skins on baked sweet potatoes?
Rub the sweet potatoes with a bit of oil and salt before baking. This helps the skins stay crisp as they roast.
- → How can you tell when sweet potatoes are fully baked?
Test with a fork or knife—if it slides in easily, the inside is soft and ready. Start checking after 45 minutes.
- → What are the best toppings to add?
Classic choices include butter, salt, and pepper. Try herbs, sour cream, or even a drizzle of maple syrup for different flavors.
- → Do you need to peel the sweet potatoes before baking?
No, bake them with skins on for best texture and flavor. Be sure to scrub them well before cooking.
- → Can you prepare sweet potatoes ahead of time?
Yes, they can be baked ahead and reheated. Store any leftovers in the refrigerator and warm in the oven or microwave.