
 Save
Save
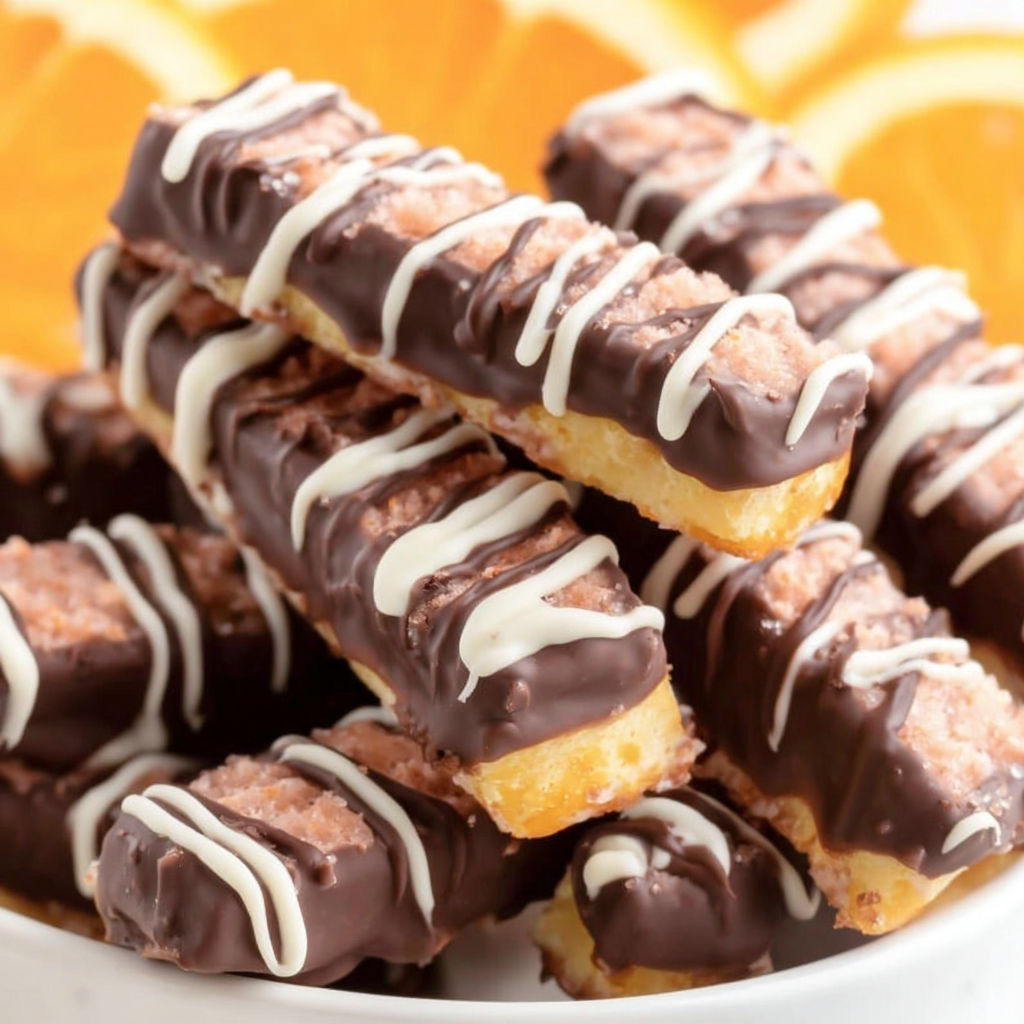
Homemade Chocolate Orange Sticks have become my secret weapon for easy yet impressive gifting around the holidays or for whenever the chocolate craving strikes. These candies combine a delicate citrus jelly with a luscious chocolate shell and taste just like the ones you find in specialty shops but with none of the mystery ingredients. This recipe is surprisingly simple and much more affordable than store bought.
I was first inspired to make these when a neighbor gifted us a tin of chocolate orange treats. My kids were hooked and I had to find a way to recreate them at home. Now it is a family tradition to make a double batch every winter.
Ingredients
- Unflavored gelatin: this is the backbone of the jelly layer so go for fresh packets to ensure it sets perfectly
- Sugar: provides classic sweetness and helps the jelly firm up just right
- Hot water: quickly dissolves sugar and creates a smooth syrup
- Cold water: is needed to bloom the gelatin so it activates evenly
- Frozen orange juice concentrate: gives an intense real citrus flavor
- Lemon juice: brightens and balances the orange for a cleaner taste
- Lemon extract: enhances the tartness and gives natural depth
- Orange extract: deepens the orange notes and rounds out the candy flavor
- Orange food coloring: makes the candy extra fun and authentic looking use a gel for bold color
- Melting chocolate or chocolate almond bark: go for a high quality brand with smooth melting properties
Instructions
- Soften the Gelatin:
- Mix unflavored gelatin in the cold water and set aside for about five minutes so it fully blooms and softens. This step creates a jelly that holds its shape instead of oozing out when sliced.
- Make the Sugar Syrup:
- Combine sugar and hot water in a small saucepan over medium heat. Stir constantly until the sugar dissolves and the mixture looks clear and glossy without any crystals. This usually takes three to four minutes.
- Cook the Jelly Base:
- Once the sugar dissolves turn the heat up to medium high and bring the syrup to a gentle boil. Add the softened gelatin mixture. Reduce the heat to medium low and let the mixture gently bubble for twenty minutes. Stir every few minutes so nothing sticks and the jelly cooks evenly and does not scorch.
- Flavor the Mixture:
- Remove the pan from the heat. Immediately stir in the orange juice concentrate lemon juice lemon extract orange extract and orange food coloring. Stir until everything is completely smooth and the color is even without streaks. Act quickly so the mixture does not start to set before you pour.
- Prepare the Molds:
- Generously spray your chosen molds or mini loaf pans with non-stick spray to prevent sticking. Pour the orange jelly mixture slowly and evenly into the molds. Smooth the tops with a spatula if needed.
- Let the Jelly Set:
- Leave the filled molds out at room temperature overnight. This ensures the candy is fully set and firm for slicing. If your kitchen is very warm you can place the molds in the refrigerator.
- Slice the Jelly:
- Remove the fully set jelly from the molds. If using a rectangular mold slice each section in half for classic stick shapes. For loaf pans cut into slim strips about one third of an inch wide. Work gently to avoid tearing.
- Dip in Chocolate:
- Melt your chosen chocolate using the package instructions. Working one at a time dip the jelly sticks into chocolate and gently shake off any excess. Place the dipped candies on wax or parchment paper to set.
- Optional Decoration:
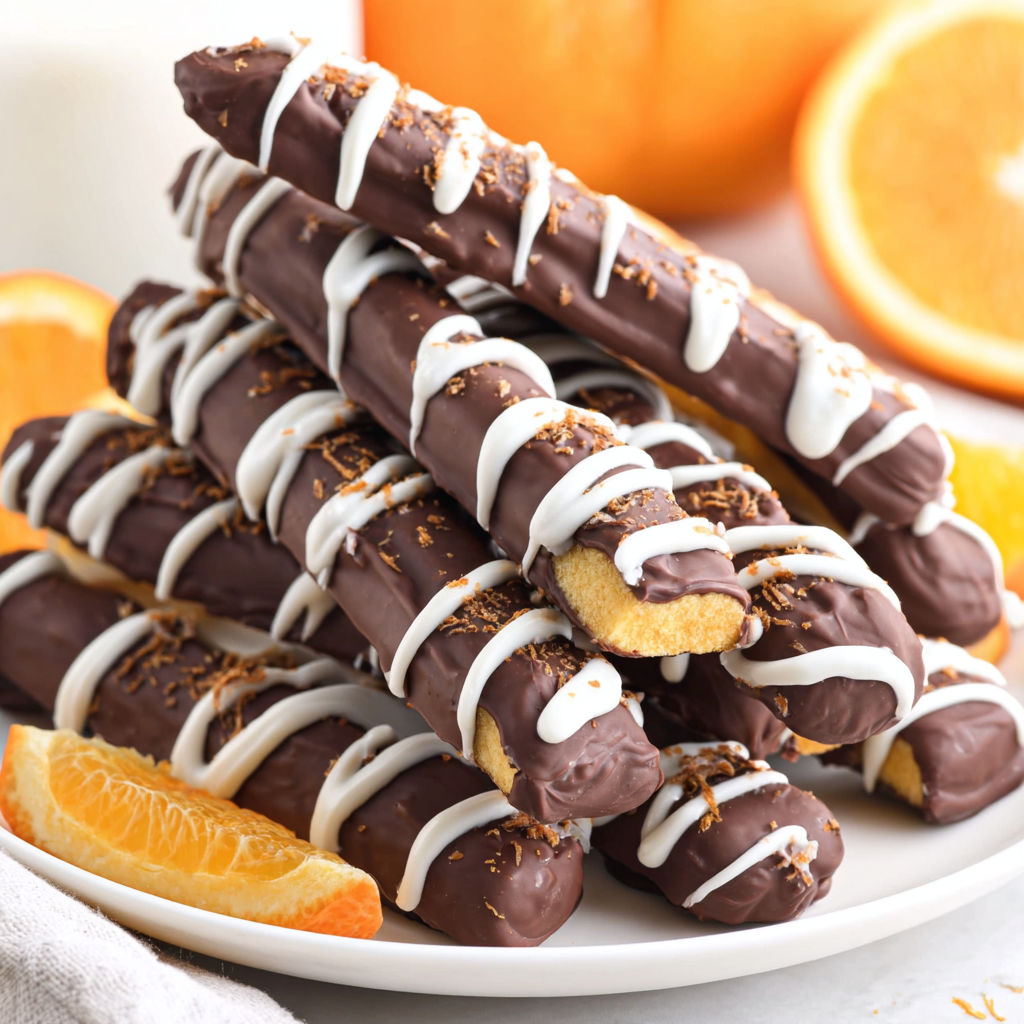
- Once the chocolate is set drizzle white chocolate in thin lines for a fun look. Allow to dry fully before packing or serving.

The frozen orange juice concentrate is my favorite part of this recipe. It delivers far more flavor than typical store bought sticks and makes these taste like sunshine in the middle of winter. One year my youngest insisted on orange drizzle as well which was a fun twist and brought the whole family into the kitchen.
Storage Tips
Store finished chocolate orange sticks in an airtight container at room temperature for up to two weeks. Avoid refrigerated storage because it can cause condensation and make the chocolate lose its gloss. For longer storage freeze in a single layer wrapped in wax paper then place in a freezer safe bag. Bring to room temperature before unwrapping for the best texture.
Ingredient Substitutions
If orange juice concentrate is not available double the amount of orange extract for a boost in citrus strength. You can swap out lemon juice for lime juice for a slightly tropical profile. For the chocolate coating use any good melting chocolate you prefer such as dark chocolate for a grown up feel or white chocolate for extra sweetness.
Serving Suggestions
Chocolate orange sticks look beautiful arranged neatly on a platter for a dessert buffet or as a sweet nibble with coffee. Tuck several in small cellophane bags with a ribbon for holiday gifts. They are also a huge hit mixed into a homemade candy tray alongside toffees and nut clusters.
Cultural and Historical Context
Chocolate orange combinations have roots in European confectionery traditions where candied citrus peels have been dipped in chocolate for centuries. The jelly version became especially popular in America during the twentieth century as a more approachable homemade treat while still nodding to classic flavors.
Seasonal Adaptations
During winter use extra orange zest for a pop of fresh citrus. In summer swap in lime concentrate and green coloring for a zesty alternative. Add a small scoop of crushed candied ginger in autumn for warm spice.
Once you have made these Chocolate Orange Sticks you will find yourself making them for every occasion. They are always met with delight and never last long in our house.
Common Recipe Questions
- → What type of gelatin should I use?
Opt for unflavored gelatin for a neutral base, letting the orange and lemon flavors shine in the final candy.
- → Can I substitute orange juice concentrate?
If you don't have concentrate, use fresh orange juice, but reduce the water slightly to maintain a strong citrus flavor.
- → How long do the jelly sticks need to set?
Allow at least 8 hours or overnight for the jelly centers to fully firm up before slicing and coating in chocolate.
- → Is special equipment needed for molding?
While silicone candy molds work best, mini loaf pans can be used as an alternative. Grease well for easy release.
- → What kind of chocolate is recommended?
Use good-quality melting chocolate or chocolate almond bark for a smooth coating and a glossy appearance.
- → How should the finished sticks be stored?
Keep the chocolate orange sticks in an airtight container at cool room temperature to preserve their texture.