
 Save
Save
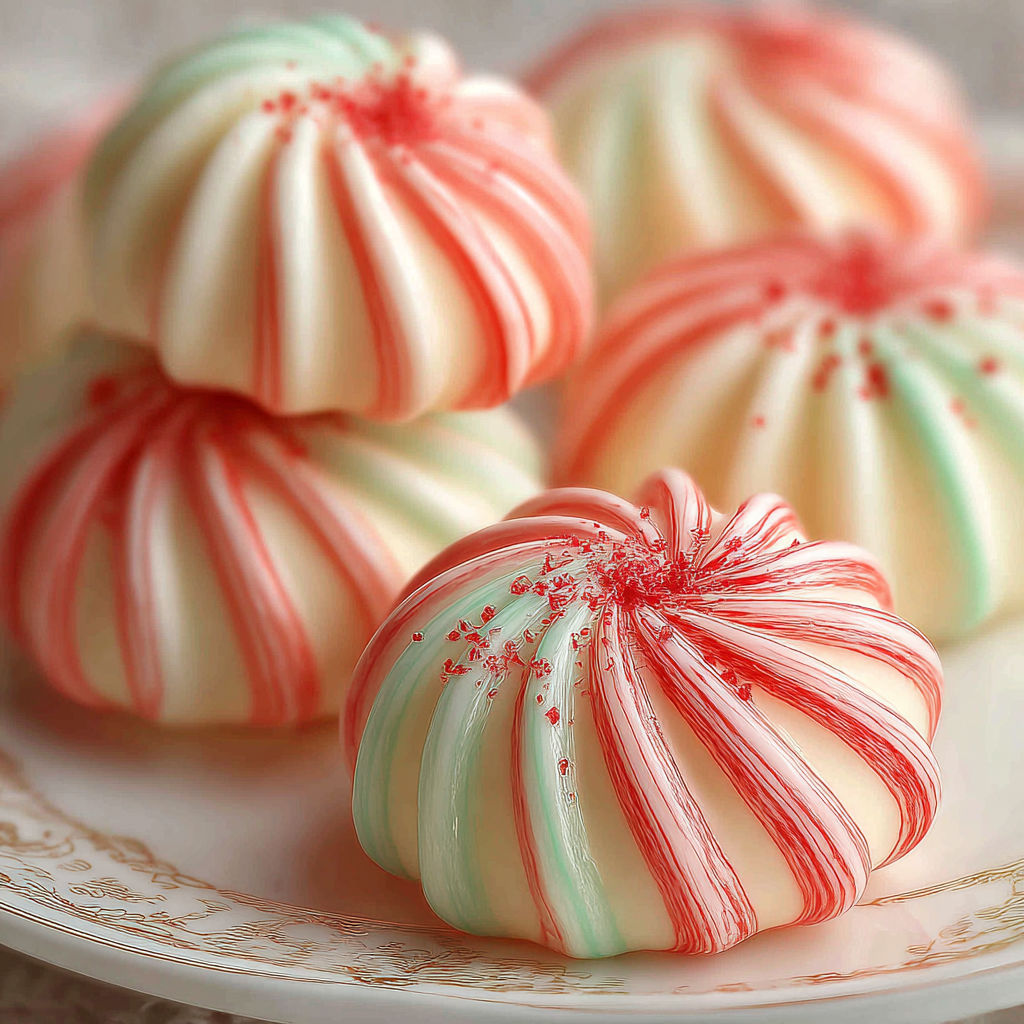
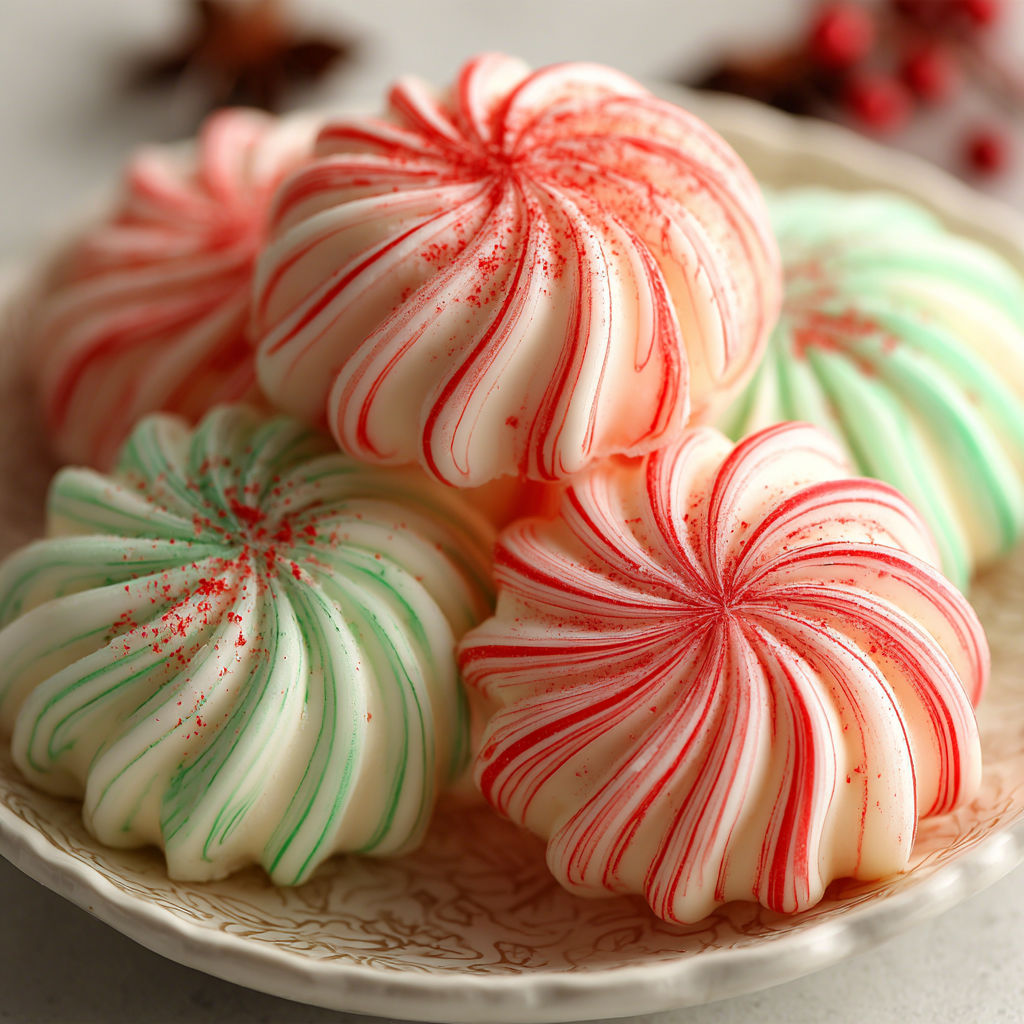
Sweet creamy and charmingly nostalgic Old-Fashioned Butter Mints are more than just a candy dish tradition. They turn simple pantry staples into a melt-in-your-mouth treat you can tint any color to fit celebrations from baby showers to holidays. These quick no-bake candies first won me over at my grandmother’s Christmas table and I have made them every year since for gatherings or just a happy nibble with tea.
I first learned to make these butter mints with my mom on a rainy afternoon and the sweet peppermint aroma instantly brings back laughter and family stories around the kitchen counter.
Ingredients
- Unsalted butter: softening the butter ahead of time makes blending easier and ensures smooth meltaway texture choose high quality butter for the best flavor
- Powdered sugar: key for the soft texture and signature sweetness use a fresh fine grind to avoid any grittiness
- Heavy cream or milk: just a spoonful adds creaminess yielding a rich dough heavy cream gives the best plush bite
- Peppermint extract: this is where the magic happens a pure peppermint extract adds fresh classic flavor just a little goes a long way
- Salt: a pinch balances the sweetness and sharpens the peppermint
- Gel food coloring: lets you create soft pastel mints use only a dot or two for the prettiest subtle shades
Instructions
- Cream the Butter:
- Beat softened butter in a large bowl with a hand mixer or stand mixer for about two minutes until there are no lumps and it looks like whipped cream. Properly softened butter should feel cool but easily yield to finger pressure. This makes sure your mints are never oily or streaky.
- Mix in Extracts and Cream:
- Add the peppermint extract salt and heavy cream. Mix these in on low speed scraping the bowl as needed until fully incorporated. This step disperses the flavor and gives your base a just-creamy-enough texture to hold the sugar.
- Form the Dough:
- Begin adding powdered sugar about one third at a time mixing slowly after each addition. You want to form a sticky but pliable dough. Expect the last cup of sugar to take effort to blend as the dough thickens. Do not reduce the sugar or your mints may not firm up.
- Tint and Knead:
- If you want colored mints divide the dough as needed and knead in your chosen gel food color. Wear gloves if preferred and start with just a tiny dab to avoid over-coloring. Knead until even and smooth. Pastel colors signal old-fashioned charm.
- Shape the Mints:
- Dust a clean counter with a little powdered sugar to prevent sticking. Roll each dough ball into ropes just under half an inch thick. The dough should feel soft but not sticky if needed dust your hands with more sugar.
- Cut the Pieces:
- With a small sharp knife or bench scraper cut each rope into small pillow shapes each about half an inch long. For a real vintage look gently press the pieces with a fork or your thumb for a dimpled top.
- Dry the Mints:
- Transfer the shaped mints to a parchment-lined tray and leave them at room temperature uncovered for eight hours or overnight. This is key for setting the delicate melt-in-your-mouth texture while keeping the centers perfectly creamy.
My favorite part is adding just a touch of pink or mint green coloring to match whatever holiday I am celebrating. My daughter loves helping roll the ropes and sneak pieces before they are dry. This recipe is woven into every big family event in my memory.
Storage Tips
Keep butter mints in an airtight container at cool room temperature for up to two weeks. For longer storage, layer them between wax paper in a tin or freezer-safe container and freeze for up to two months. Thaw at room temperature before serving to restore their creamy texture.
Ingredient Substitutions
If you are out of heavy cream, whole milk works well, but cream results in the smoothest velvet bite. For the extract, classic peppermint is best but you can experiment with spearmint, lemon, or even almond for a fun twist. Avoid liquid food coloring since it can water down the dough.
Serving Suggestions
Butter mints are a classic finish for festive dinners arranged in a pretty dish. Tuck them into cellophane gift bags for homemade favors at showers or weddings. Try scattering them across dessert trays next to cookies or chocolate for a beautiful contrast in both color and flavor.
Cultural and Historical Context
Old-Fashioned Butter Mints hearken back to Victorian-era hospitality when tiny pastel candies were served with coffee after dinner. Throughout the twentieth century, they became a staple at American celebrations and church gatherings where a sentimental taste for nostalgia lingers.
Seasonal Adaptations
Shade mints pastel pink and green for Easter and spring brunches. Color pale orange and purple for autumn parties or Halloween. Use red and white stripes for Christmas or heart shapes for Valentine’s Day.
Success Stories
Many cooks report that butter mints are among the first candies their children help shape. Friends have shared that these treats brighten up wedding favor bags or add vintage flair to birthday dessert spreads. There is a certain happiness to making candy at home in just a few minutes.
Freezer Meal Conversion
Freezing is a great way to save time for big events. Mix and shape butter mints as directed and freeze on parchment in a single layer. Once solid, transfer to a freezer-safe container. Thaw uncovered at room temperature so the outer shell dries a little again and then serve as usual.

Share these melt-in-your-mouth butter mints for nostalgic joy all year long. They’re a sweet, simple treat that everyone will remember.
Common Recipe Questions
- → How do I achieve the perfect creamy texture?
Make sure the butter is fully softened before mixing. Beat it until smooth and creamy for the best results.
- → Can I use different flavors besides peppermint?
Yes, try substituting peppermint extract with lemon, almond, or vanilla for a new twist on flavor.
- → How long should butter mints dry before serving?
Allow the mints to dry uncovered at room temperature for at least 8 hours, preferably overnight.
- → What's the best way to color the dough?
Divide the dough and knead in gel food coloring gradually, using small amounts for soft pastel shades.
- → How do I store homemade mints?
Keep mints in an airtight container at room temperature for up to two weeks. Avoid humid areas to preserve dryness.
- → Can I make these ahead for parties?
Absolutely. Butter mints hold up well when made in advance, making them ideal for parties or gift giving.