
 Save
Save
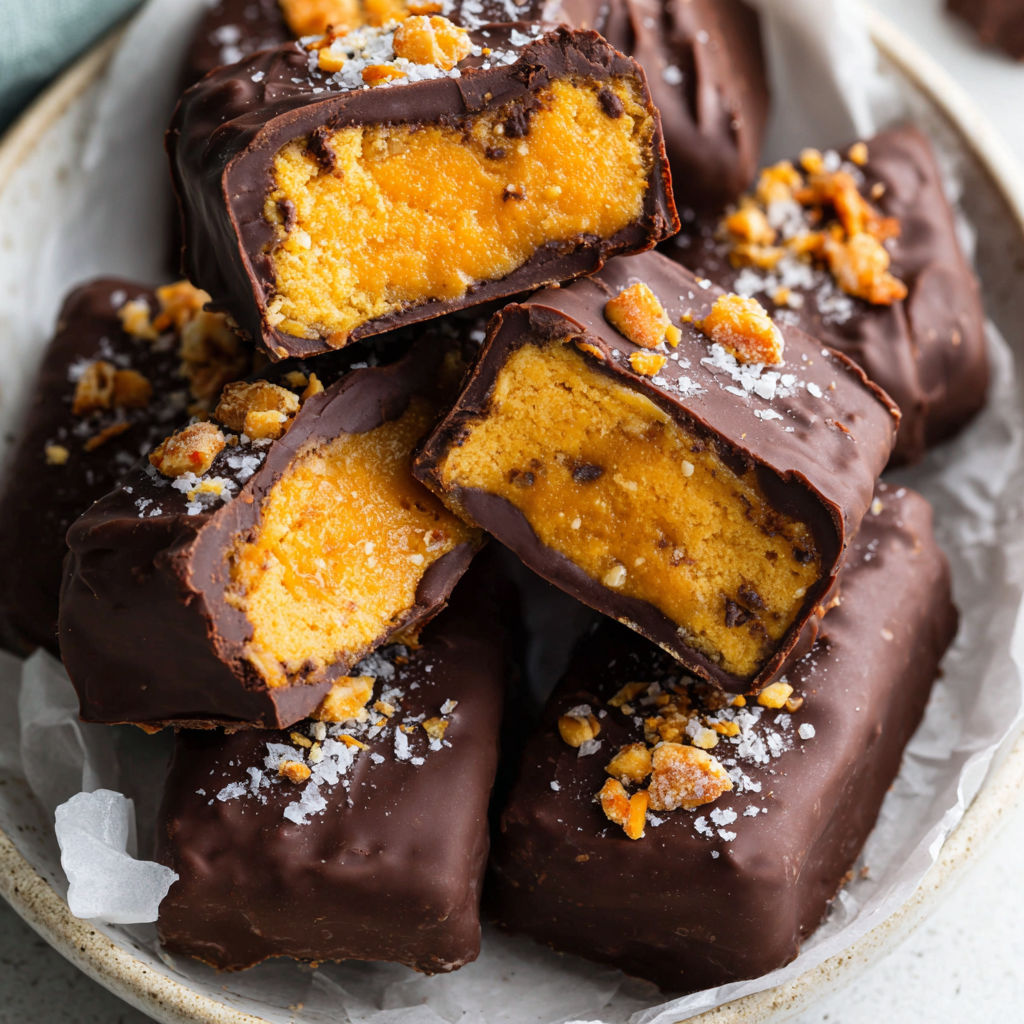
These healthy homemade butterfingers offer the nostalgic crunch and rich chocolatey coating of your favorite candy bar without all the processed sugar or mystery ingredients. They are naturally sweetened and whip up in just a few minutes with pantry basics. When my kids crave something sweet, this is the treat I reach for since I know exactly what is in it—and they love helping crush the corn flakes.
I first made these on a whim one weekend when my husband was craving candy but we did not want a sugar overload. Now we keep a stash in our freezer for that perfect not-too-sweet fix.
Ingredients
- Peanut butter: for creamy texture and nutty richness, make sure to use natural peanut butter without added sugar or oil for best results
- Maple syrup or honey: for natural sweetness and a hint of caramel flavor, opt for pure maple syrup for a deeper taste
- Corn flakes: for that classic crunch, choose unsweetened plain corn flakes for a snappy and crisp texture
- Chocolate chips: for the candy bar coating, go for a dark chocolate or vegan chocolate to keep things dairy free
- Coconut oil: helps the chocolate set smoothly and gives it a shiny finish, cold-pressed coconut oil works best for clean flavor
Instructions
- Crush the Corn Flakes:
- Seal the corn flakes in a large zip-top bag and use a rolling pin or your hands to crush them into small flaky pieces. The finer you crush them the more cohesive your bars will be, but leave some small bits for texture
- Mix the Filling:
- In a large bowl combine peanut butter and maple syrup or honey. Stir thoroughly until completely blended and glossy. Add in the crushed corn flakes and mix so every piece gets coated with the nutty mixture
- Shape and Freeze:
- Line a loaf pan with parchment paper, letting extra hang over the edges for easy removal. Press the corn flake mixture into the pan using your hands or the back of a spoon. Try to create an even compressed layer so every bar holds together. Place in the freezer for at least one hour so the mixture sets up firmly
- Slice into Bars:
- Once frozen, lift the firmed mixture from the pan using the parchment flaps. Place it on a cutting board and slice carefully into 12 even bars. Go slowly to avoid crumbling
- Melt Chocolate for Dipping:
- In a small bowl melt chocolate chips together with coconut oil. The easiest method is microwaving in 30-second intervals or gently over a double boiler. Stir until completely smooth and glossy
- Coat the Bars:
- Using a fork, dip each bar into the melted chocolate ensuring all sides are covered. Let excess chocolate drip off, then place bars onto a parchment lined plate or tray so they do not stick. Repeat with all bars
- Final Freeze:
- Return the chocolate-dipped bars to the freezer for about 10 minutes. This helps the chocolate firm up quickly and makes the bars easy to store and eat right away
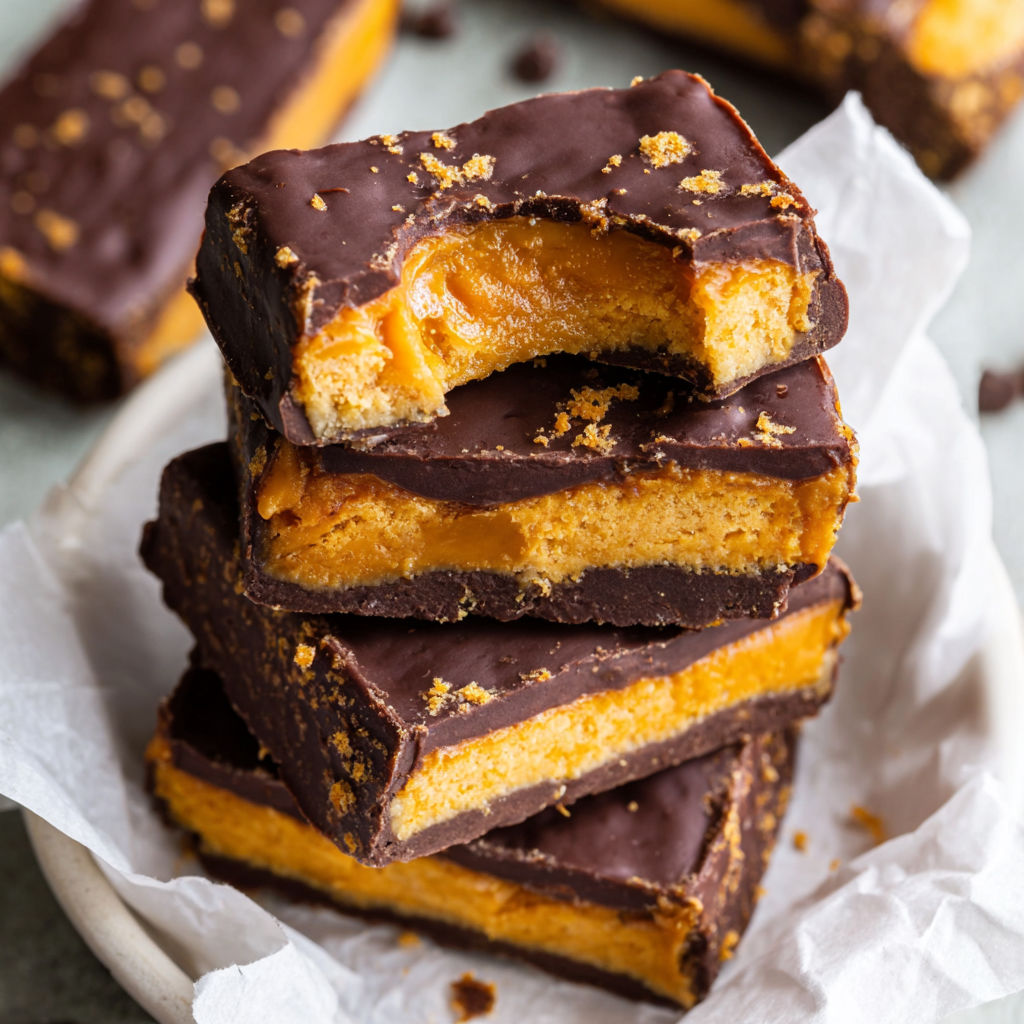
Peanut butter is always the ingredient I look forward to most in these bars. We once made a double batch for a family road trip and they disappeared before we left the driveway—crunchy chocolate-coated bliss.
Storage Tips
Keep these butterfingers in an airtight container in the freezer. They stay good for up to three months and taste fantastic straight from the freezer or after a few minutes at room temperature. Freezer storage keeps them extra snappy and prevents the chocolate from melting in your hands on warm days.
Ingredient Substitutions
If you need to swap corn flakes, try crisped rice cereal for a milder crunch. Almond butter works in place of peanut butter if you have allergies or want a different flavor. Maple syrup gives a richer background note, while honey lends a light floral sweetness. Any chocolate chips you love will work, including low sugar or vegan varieties.
Serving Suggestions
These are the ultimate portable sweet snack for lunchboxes, energy breaks on hikes, or after a workout. I also love chopping them up and adding them to homemade ice cream sundaes for a candy bar upgrade. For the holidays, wrap them in wax paper to share as a healthy homemade gift.
Cultural Context
Butterfingers were invented in Chicago in the 1920s as an American treat featuring that signature brittle-crunchy center under chocolate. This simplified homemade recipe brings those nostalgic flavors without the commercial additives, making it an accessible project for home cooks craving a taste of childhood.
Seasonal Adaptations
Swap peanut butter for almond or sunflower seed butter to suit nut free needs. Add a pinch of pumpkin pie spice in the fall for a seasonal variation. Mix in some freeze-dried raspberries or chopped nuts for a summer twist.
Success Stories
Friends have brought these to bake sales and reported that no one noticed they were healthier. At one gathering we hosted, even the pickiest eater cleaned her plate of these and asked for the recipe. Kids also love helping with every step especially smashing the corn flakes.
Freezer Meal Conversion
This recipe works beautifully as a freezer treat. Make a double batch and freeze the bars in individual portions for easy grab-and-go desserts. Defrost for a few minutes or enjoy straight from the freezer for a satisfyingly cool treat that never feels heavy or overly sweet.
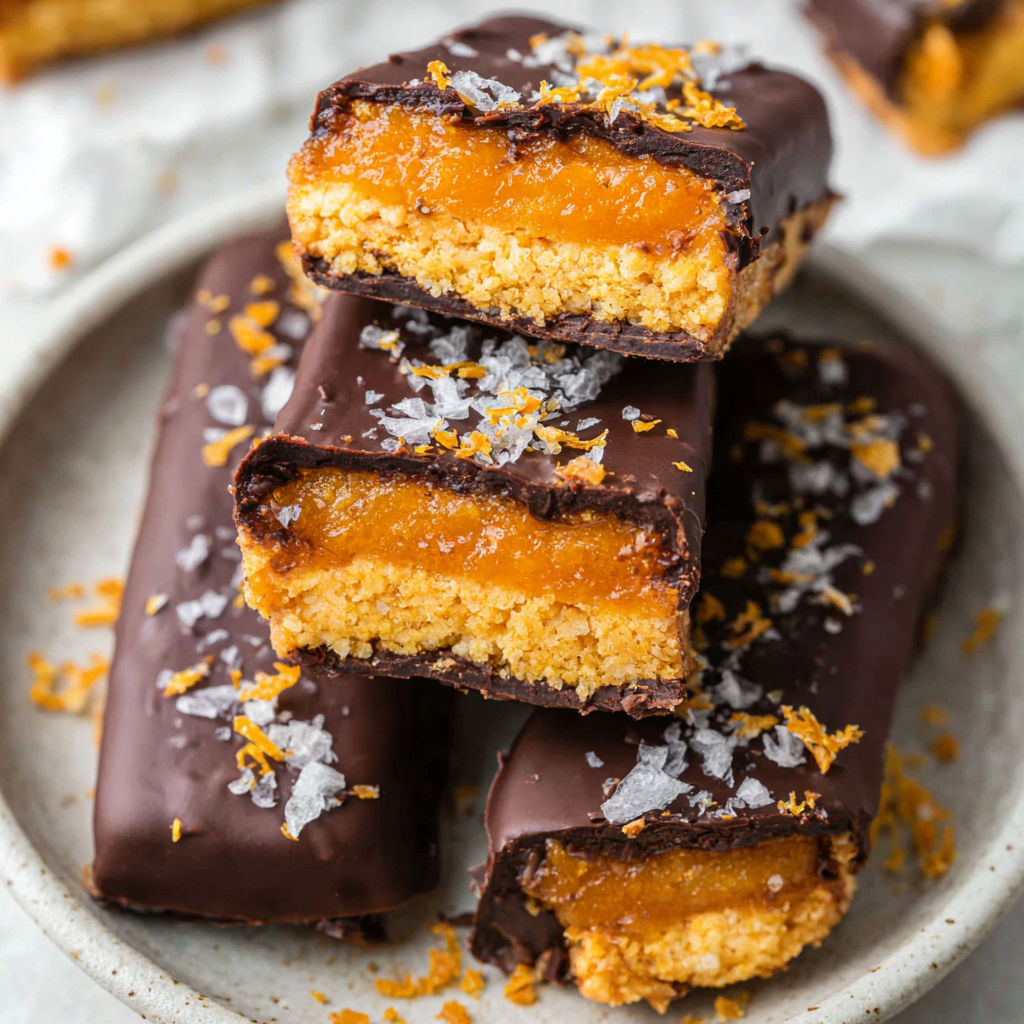
Homemade butterfingers satisfy every craving with simple wholesome ingredients. Keep a stash in your freezer for a quick treat that everyone will love.
Common Recipe Questions
- → Can I substitute corn flakes with another cereal?
Yes, you can use crispy rice cereal or bran flakes for a different texture and flavor in the bars.
- → Is it possible to use almond butter instead of peanut butter?
Absolutely! Almond butter works well and offers a slightly different taste, while keeping the bars creamy.
- → How can I melt chocolate chips smoothly?
Melt chocolate chips with coconut oil over low heat or in the microwave in short bursts, stirring until smooth and glossy.
- → What is the best way to store these bars?
Keep the bars in an airtight container in the freezer so they stay firm and fresh for up to 3 months.
- → Are there vegan sweetener options for this treat?
Maple syrup is a great vegan choice, and agave syrup may also be used without altering the structure.
- → Can I make these nut-free?
Try sunflower seed butter or other nut-free alternatives for an allergy-friendly version of these bars.